Racing Games
Overview
Racing game components are easily accessible for everyone.
Racing game components are easily accessible for everyone. Racing game furniture items can be found in the Sinespace Shop. When in the Shop, click on the Furniture tab, then use the search-bar to look for dotEnterprise, and you will see all of the below items listed:

You will need all of these items to create a racing game.
Unpacking the furniture items
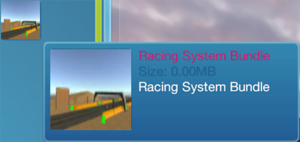
The Racing Item Bundle will need to be unpacked before you can use the items. To unpack the bundle, click on it in your Inventory, then click on Use.
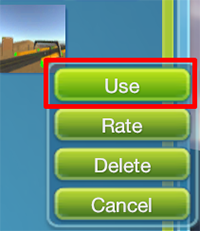
When you have clicked on 'Use' there will a pop up for the bundle.
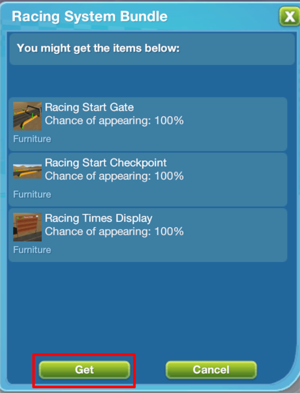
Click on the 'Get' button, and this will add all the listed items to your inventory.
Setting up a private region as a race track
You will need a large region to set up a race track. You can either make your own race region in Unity and upload it, or you can use a home template from the Shop. If you are making your own region for the race track, you will need to upload the region as a home template. To see how to do this, please see our Room Floor Component page and our Regions page. To find a home template in the Shop, go to the Regions tab and you will see all of the home templates we have.
Placing the Racing Items in a region
You can set up these racing items to make a lap race in your region.
Placing the Racing Start Gate
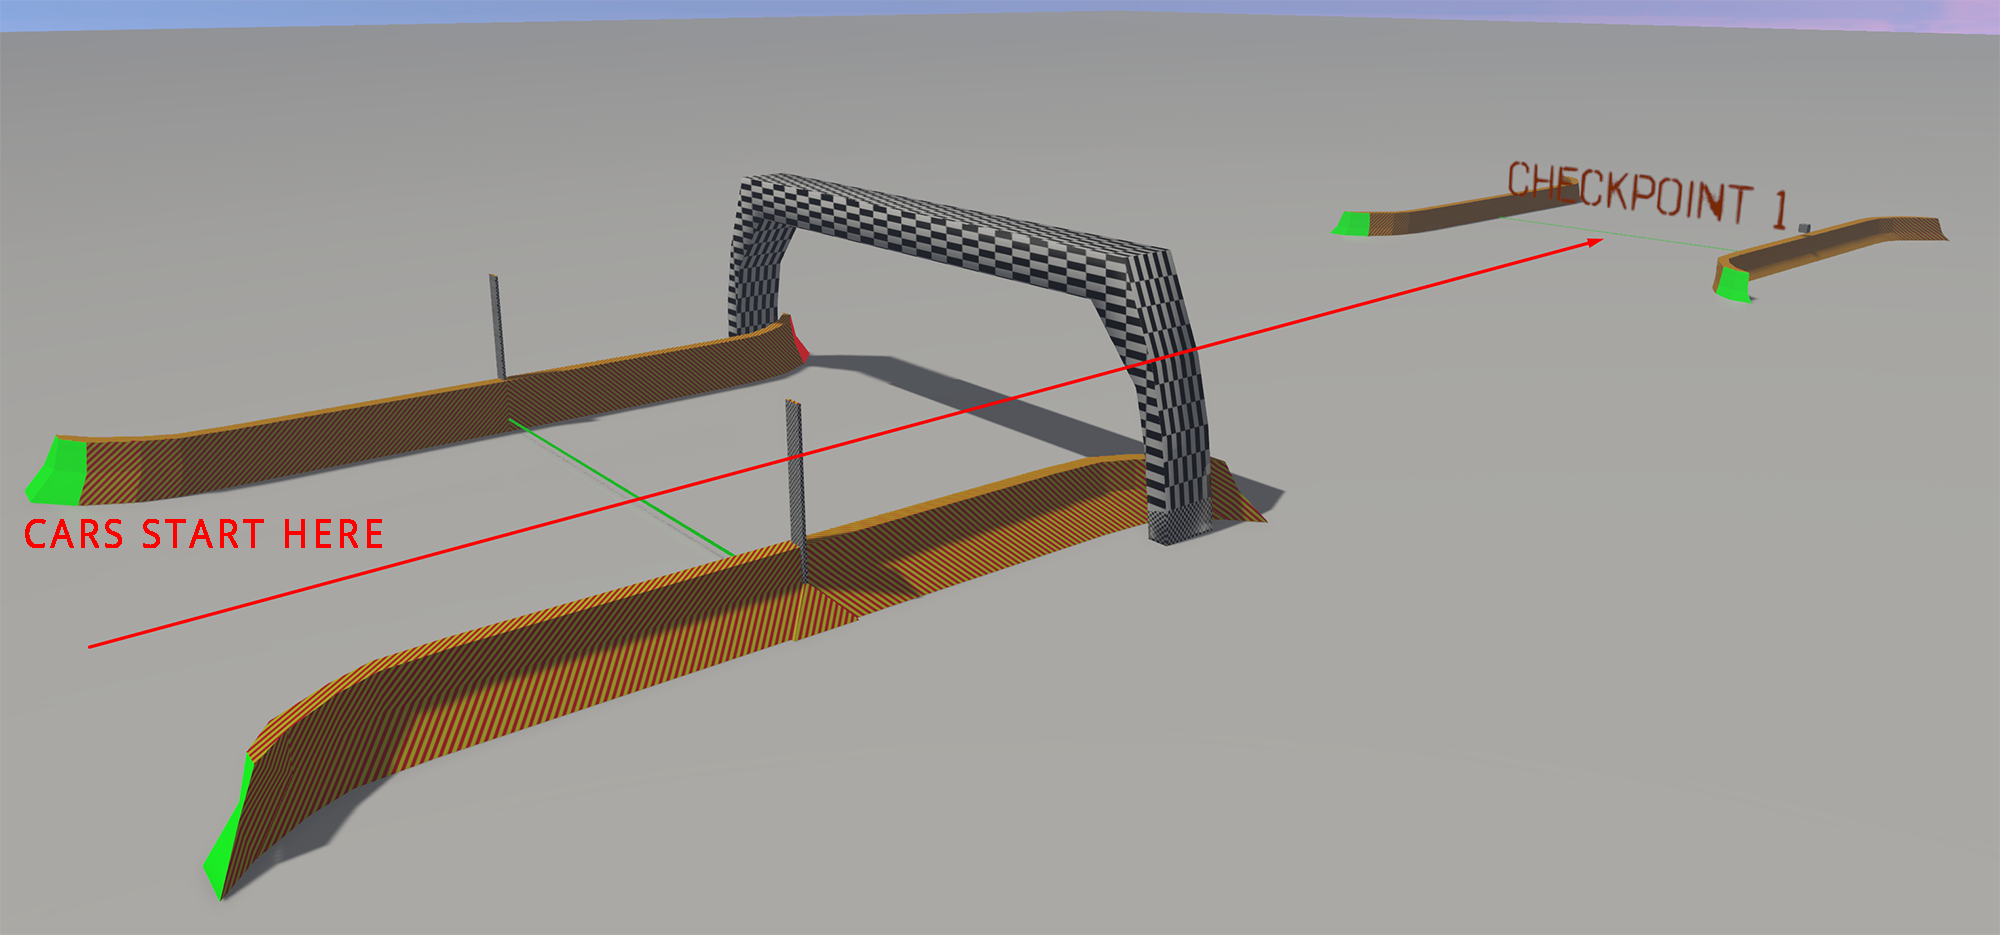
You will need to place the Start Gate where you want the race to start. The racers will start on the side of the gate that has the green marks:

Placing the first Checkpoint
Once you have placed the start gate, you can then place the first checkpoint. This is the Racing Lap Checkpoint furniture item. This will need to go after the Starting Gate. Here is an example:
Each checkpoint you place down will be labeled Checkpoint 1 to begin with. You will need to change the checkpoint numbers for the race laps to work correctly. To change the checkpoint number, walk up to the checkpoint you want to change, and you will see a cube. Click on it.

When you click on it, it will open a UI. Here you can enter the checkpoint number.
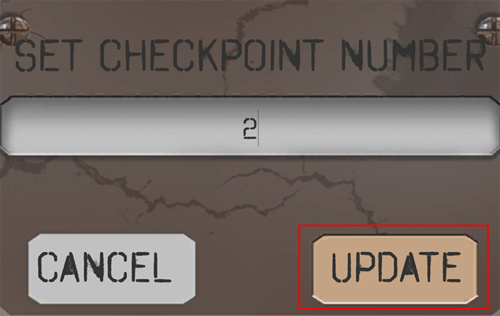
Click on the Update button to update it to the number you entered.
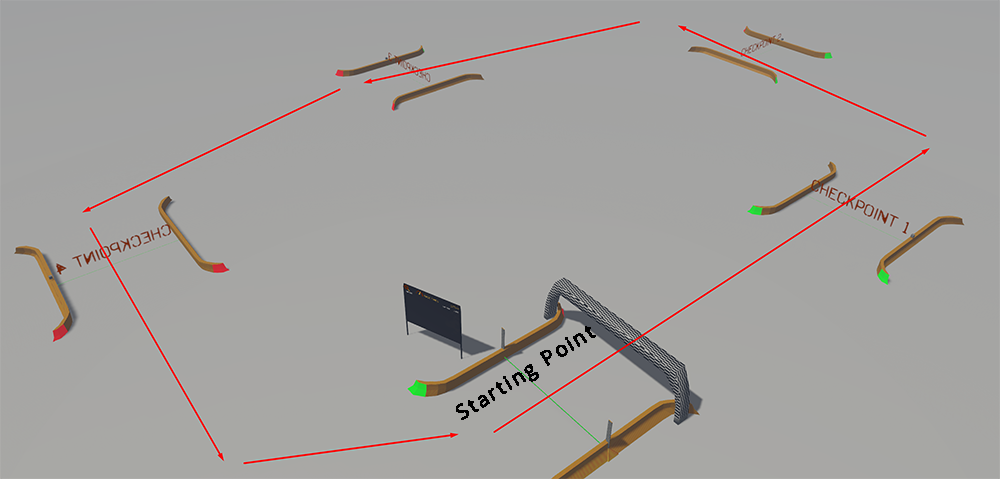
Placing more checkpoints
You can place as many checkpoints as you want in your region, but if you want the race to be more than two laps, make the race shorter by placing less checkpoints. Here is an example of a small lap race:
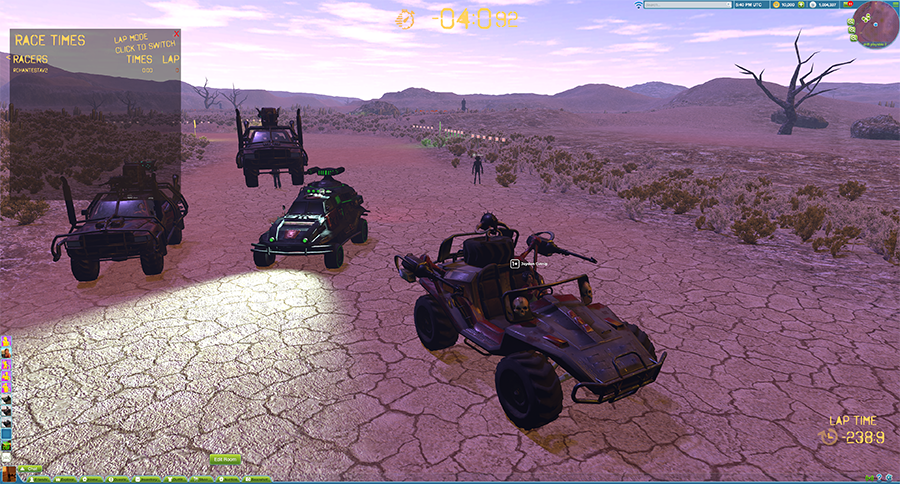
Racing Display
Once you have finished placing all of the checkpoints, you will want to add the Racing Display.
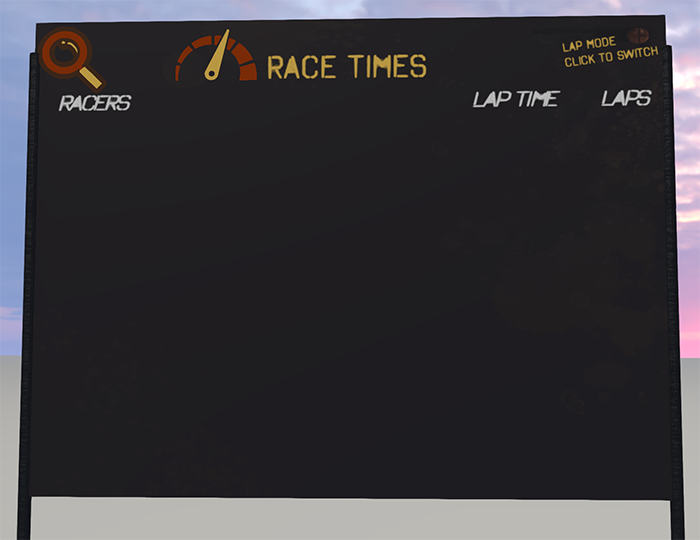
The racing display shows a list of the racers, their lap times and how many laps they have done. You can click on Laps to change the number of laps and click on 'Start' to start the race. You can click on 'Reset' after starting the race to reset the times and laps. You can change the race type on the display by clicking on the mode switch button:
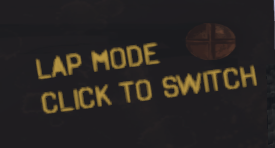
The modes are lap mode and race mode. Keep this on race mode for a lap race. If you click on the magnifying glass on the top left of the racing display, this will focus your camera on it so you can read it clearly. You can also see the information on the display by clicking on the yellow arrow:
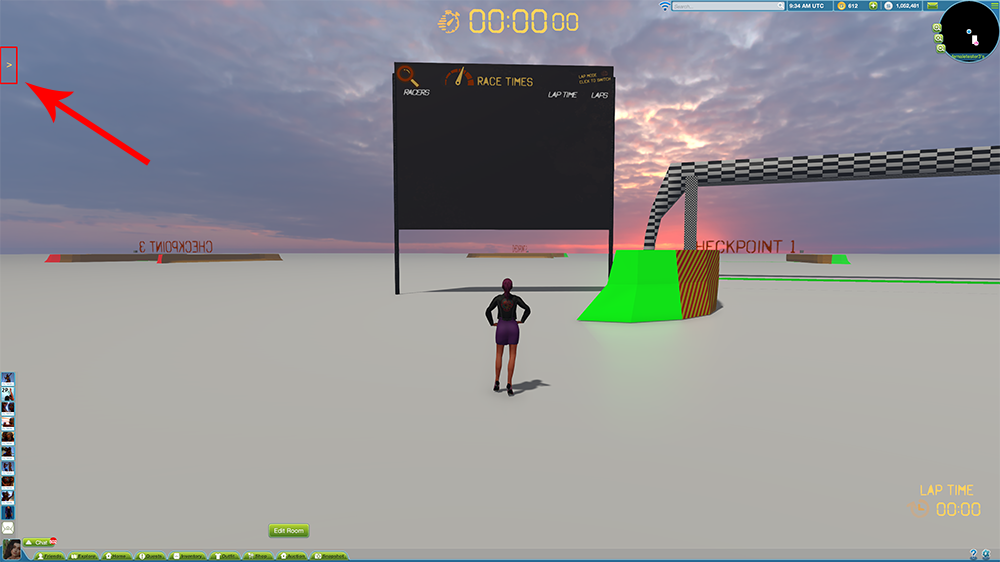
This will open up the UI on the screen so you can see it while racing.
That is how to set up the furniture as a lap race; Please note that at the moment these racing furniture items only work with modular vehicles. We are currently updating older cars to this new system.